
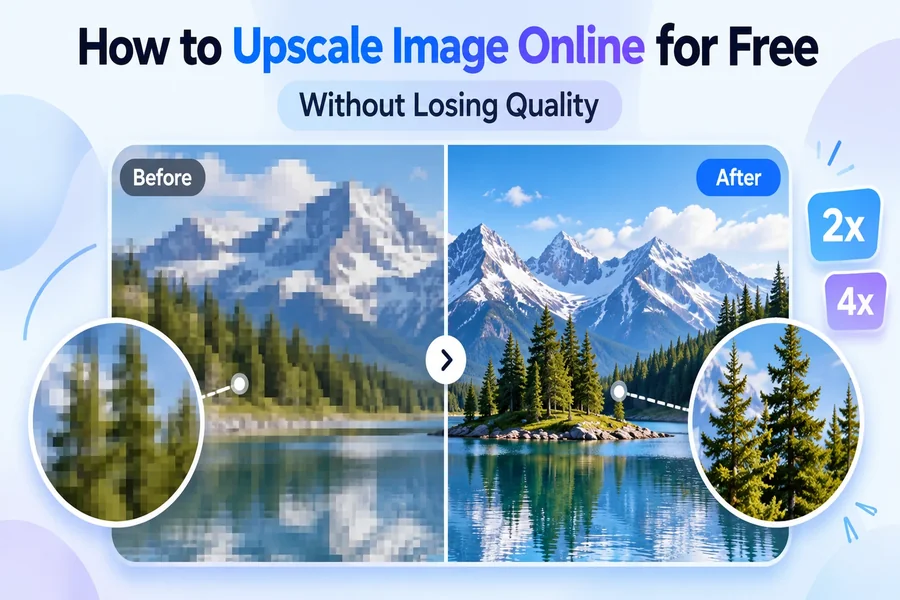
How to Upscale Image Online for Free Without Losing Quality – AI 2x and 4x
How to Upscale Image Online for Free Without Losing Quality
Making a photo larger sounds straightforward until you try it the wrong way and end up with a blurry, pixelated result that looks worse than the original. The difference between losing quality and preserving it comes down to one thing: how the new pixels are generated. Basic resizing stretches what’s already there. AI upscaling generates new detail based on what the image actually contains. If you need to upscale image online free and get a result that holds up at larger sizes, this guide explains how the process works, when to choose 2x vs 4x, and what to realistically expect from different types of images.
Why Traditional Resizing Loses Quality
When you drag an image corner in a basic editor or increase the canvas size, the software uses mathematical interpolation — it calculates new pixel values by averaging the pixels around them. At 2x size this produces acceptable results. At 4x the weakness becomes obvious: edges go soft, textures turn muddy, and fine details like text, hair, and fabric patterns become indistinct blobs.
The fundamental problem is that interpolation has no understanding of what’s in the image. It applies the same averaging logic to a face, a product label, and a background wall. The result is a larger version of the image with less apparent quality than the original.
How AI Upscaling Works Differently
AI upscaling is built on a different foundation. The model is trained on millions of image pairs — low-resolution originals and their high-resolution counterparts — and learns the visual patterns that characterize real-world content: how skin texture looks at different scales, how fabric weaves behave, how architectural edges are defined, how text strokes are formed.
When you upload an image, the model analyzes the full content — not just individual pixels — and generates new pixels that are consistent with what should be there based on the image context. The result isn’t a stretched version of what already exists; it’s a reconstruction of what the high-resolution version of that specific image should look like.
| Method | How New Pixels Are Created | Result at 4x |
| Nearest neighbor | Copies the closest existing pixel | Blocky, pixelated — clearly low quality |
| Bilinear / bicubic interpolation | Averages surrounding pixels mathematically | Soft and blurry — detail lost |
| Traditional sharpening after resize | Increases edge contrast post-stretch | Harsh, artificial-looking halos |
| AI upscaling | Generates detail from learned image patterns | Sharp, natural — genuine quality increase |
2x vs 4x: Which Upscale Level to Choose
Phototune.ai offers two upscale levels: 2x and 4x. The right choice depends on your starting image size and your intended use.
| Upscale Level | What It Does | Best Used When |
| 2x | Doubles both dimensions — a 800×600 image becomes 1600×1200 | Image is already a reasonable size but needs more resolution for its use case |
| 4x | Quadruples both dimensions — a 400×300 image becomes 1600×1200 | Image is small or low-resolution and needs significant enlargement |
A practical way to decide: think about where the output image will be used. For web and social media, a 2x upscale from a reasonable source image usually produces more than enough resolution. For print — especially anything larger than a standard 4×6 print — 4x gives you the pixel density needed to avoid visible softness at the printing DPI.
Step-by-Step: Upscale an Image Online for Free
Step 1: Go to Phototune.ai and open the AI image upscaler. No account required — works in any browser on desktop or mobile.
Step 2: Upload your image. Drag and drop or click to browse. JPG, PNG, and WEBP formats are supported. For best results, always start from the highest quality version of the image available — AI upscaling reconstructs detail, but it works better with more information to start from.
Step 3: Choose your upscale level. Select 2x if the image is already a reasonable size and you need moderate enlargement. Select 4x for small or low-resolution images that need significant size increases.
Step 4: The AI processes the image automatically in seconds — analyzing content, reconstructing detail, and generating the higher-resolution output.
Step 5: Compare the before and after at full zoom. The improvement in edge definition, texture detail, and overall clarity should be visible even at a glance. Download the upscaled image at full resolution.
What Types of Images See the Biggest Improvement
AI upscaling produces the most dramatic visible improvement when the source image has real content to reconstruct — genuine texture, defined edges, recognizable structure — that was simply captured at low resolution.
- Product photos that are too small for marketplace requirements — AI upscaling brings them to the pixel dimensions platforms require while maintaining sharp edges and material textures
- Portraits and face photos — AI reconstruction specifically preserves facial detail, skin texture, and hair definition that standard resizing blurs
- Old scanned photographs — photos digitized from film prints often have good underlying content that AI can sharpen and clarify
- Logo and graphic assets — vector-like content with defined edges upscales cleanly, maintaining crispness at larger sizes
- Screenshots with text — AI reconstruction keeps text readable and edges sharp rather than softening them the way interpolation does
Where Upscaling Has Limits
AI upscaling is genuinely impressive, but it’s not unlimited. A few situations where results are more modest:
- Very heavily compressed images — multiple rounds of JPEG saving remove information that even AI cannot fully reconstruct
- Images where the subject is inherently blurry or out of focus — upscaling makes the image larger but doesn’t fix focus problems
- Extremely small images (under 200px) — there’s less context for the AI to work from, so detail reconstruction is more speculative
In these cases AI upscaling still outperforms standard resizing — but the gap between what’s there and what a true high-resolution capture would show remains visible.
Choosing the Right Scale for Print
Print resolution is measured in DPI (dots per inch). Standard print quality requires 300 DPI — meaning a 4×6 inch print at 300 DPI needs a 1200×1800 pixel image. A 4x upscale of a 300×450 pixel image produces exactly that. For larger prints, the math scales the same way: measure the print size in inches, multiply by 300, and that’s the pixel dimension you need.
Web use is more forgiving — screens display at 72-96 DPI, and modern displays handle images at lower pixel densities without visible quality loss. A 2x upscale of a web-resolution image is typically more than sufficient for any online use.


