
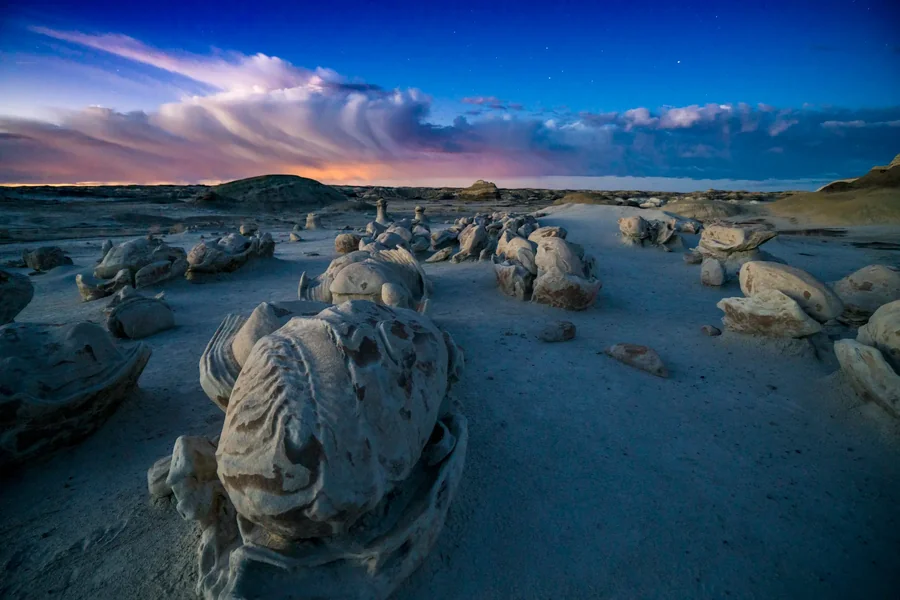
Trailside Stones: How to Photograph and Note Rocks So You Can Name Them Later
Birders and nature walkers already know how to slow down. You lift binoculars for a flash of wing, then jot a call, a perch, a habitat note before the moment slips. The same habit works for the stones under your boots—a quartz vein in a cutbank, a dark cobble in a creek bed, a glittery chip on a switchback—each waiting in your phone gallery until a quiet evening helps you name what you saw.
You do not need a geology degree. You need clear photos, consistent notes, and the humility to treat every label as provisional until a reliable source agrees. This checklist is for hikers, birders, and weekend naturalists who want trail rocks to become more than a blurry thumbnail later.
Why trail rocks deserve a second look
Rocks are the stage every habitat sits on. The soft mud that holds shorebird tracks, the granite slab that warms lizards at noon, the limestone shelf that feeds a spring—all of it starts with stone. Learning a handful of common rock types along your usual routes makes the landscape more readable. You notice why one ridge holds oaks and another holds pines. You understand why a particular creek runs clear and cold. Naming is not the end goal; noticing is. Names simply help you remember and compare.
There is also a safety angle. Some outcrops are unstable. Some mine tailings and old dumps are best admired from a distance. Good notes keep you curious without turning every walk into a collecting trip. Photograph in place, leave what you find, and let public lands stay intact for the next walker and the next nest.
Before you leave the trailhead
Pack light and stay ready:
– Phone with enough storage and a charged battery (or a small power bank) – A coin, lens cap, or finger for scale in at least one shot – Optional: a notes app template; a hand lens only if you already own one
Do not pocket specimens from protected areas, private land without permission, or fragile habitats. Photos travel farther than rocks in a pocket—and leave the trail intact.
How to photograph a trail rock so it stays useful
A single distant snap rarely helps. Treat the stone like a bird you would document for eBird: multiple angles, context, and scale.
**1. Context first.** Step back and take a wide shot that shows the rock in place—on the trail bed, in a creek, on a scree slope, beside a root. Habitat context later tells you whether you were looking at bedrock, a float cobble, or road fill.
**2. Move in.** Fill the frame with the specimen. Shoot both main faces if it is loose; if it is bedrock, shoot the weathered surface and any fresh break that is already exposed (do not smash rock for a “better” photo).
**3. Include scale.** Place a coin, key, or your fingertip at the edge of one frame. Without scale, a pebble and a boulder can look identical on a phone screen.
**4. Watch the light.** Midday glare flattens texture; soft side light shows crystals and layering. If the rock is wet from a creek, take one wet shot and one after it air-dries—wet surfaces can exaggerate color.
**5. Avoid filters and heavy editing.** Auto-enhance is fine for readability; dramatic filters distort color and make later comparison harder.
**6. Capture texture details.** Zoom or crop carefully for grain size, sparkle, fossils, banding, or a chalky coating. Those details often decide between look-alike stones.
Three to five photos per rock is usually enough. More than that becomes noise unless you are documenting a complex outcrop.
What to write down while you still remember
Photo files lose context fast. Add a short note the same day—ideally before you leave the parking lot:
– Date and trail name or nearest landmark – Rough location (mile marker, junction, GPS if you use it) – Setting: creek bed, road cut, talus, beach, summit scree – Size estimate (matchbox, fist, backpack) – Color(s) dry and wet if different – Feel: heavy for size, chalky, glassy, sandy, layered – Anything else: fossils, holes, sparkle, rust stains, reaction with vinegar if you already test at home later
Keep medical and collecting language out of it. You are building a nature notebook, not a lab report.
A simple naming workflow after the hike
At home, sort photos into a folder named by trail and date. Open your notes beside a regional field guide, a park visitor-center brochure, or a trusted geology overview for your state or province. Work from broad categories first:
– Does it look layered (often sedimentary) or crystalline (often igneous or metamorphic)? – Is the grain coarse enough to see crystals with the naked eye, or is it fine and smooth? – Does it scratch easily, leave a powder, or feel unusually heavy?
Match your photos to two or three candidate names, then read the “look-alikes” section for each. Many trail stones are ordinary: granite, basalt, sandstone, limestone, quartzite, shale. Ordinary is still worth knowing. When a photo set is clear but your bookshelf is thin, trail photo rock naming tips can help you compare a careful upload against common rock types so you have a shortlist to check against local maps and guides—not a final verdict from a single screen.
Whatever tool or book you use, keep the same rule birders use with hard IDs: mark it “probable” until a second source agrees. Location matters. A rock common in one mountain range may be rare or absent two ranges over. Road gravel and landscaping stone also hitchhike into trails; if your “find” matches driveway aggregate, say so in the note and move on.
Rocks, birds, and careful sharing
Once you can name a few stones, habitats click into place—why one ridge holds oaks and another pines, where cold springs emerge, which ledges suit cliff-nesters. If you post finds online, blur exact coordinates near sensitive nests. Curiosity should never become a map for disturbance.
A compact trailside checklist (copy into your notes app)
– Wide context photo – Close photos of main faces – One scale shot – Wet and dry color if relevant – Date, trail, setting, size – Texture and weight notes – Later: two candidate names + look-alikes checked – Label confidence: sure / probable / unknown
Closing the loop without turning walks into chores
You will not name every stone—and should not try. Pick one or two interesting rocks per outing. Over a season, your gallery becomes a personal field atlas for places you already love. The next time a hiking partner asks about a glittery band, you will have photos, notes, and a reasoned guess instead of a shrug.
Slow looking is the same skill whether the subject has feathers or fractures. Photograph well, write a few lines while the memory is warm, and only then reach for a name.


